Using Object Detection in Augmented Reality for Game Development
Table of Contents
Introduction
Object Detection in Gaming
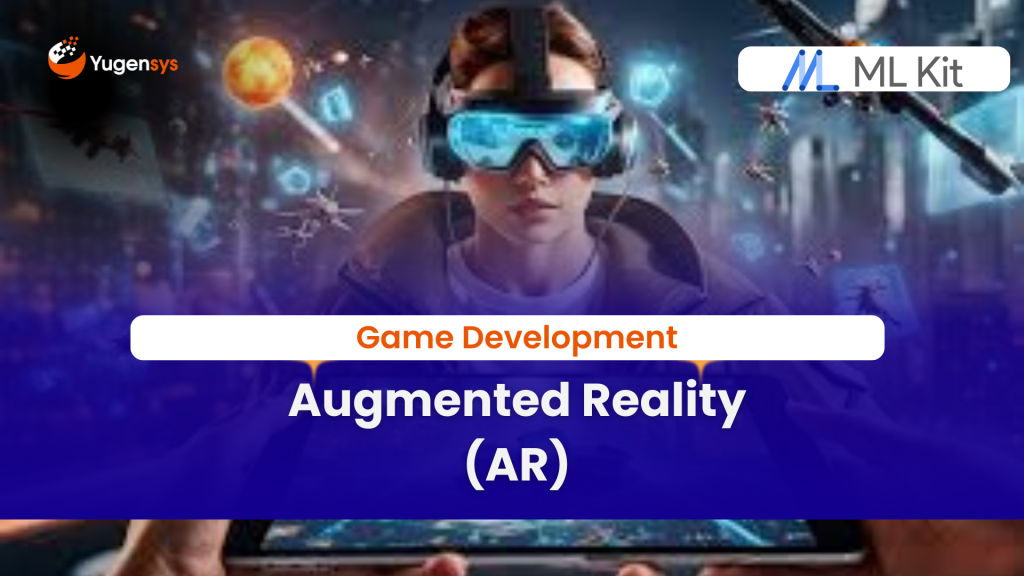
Object detection involves identifying and locating specific objects within an image or video frame. In the context of gaming, object detection enables developers to create experiences where virtual objects are overlaid onto the real world, enhancing player interaction and immersion.
Exploring the codebase
We’ll dive into the flutter codebase that demonstrates the implementation of object detection in an AR gaming scenario. Here’s a breakdown of the key components:
class ARGameView extends StatefulWidget {
  ARGameView({
    Key? key,
    required this.title,
    required this.onDetectedObject,
  }) : super(key: key);
  final String title;
  final Function(DetectedObject) onDetectedObject;

  @override
  State<ARGameView> createState() => _ARGameViewState();
}
Stage Management
The _ARGameViewState class manages the state of the ARGameView widget. It initializes the object detector and other necessary variables in the initState method.
class _ARGameViewState extends State<ARGameView> {
  ObjectDetector? _objectDetector;
  DetectionMode _mode = DetectionMode.stream;
  bool _canProcess = false;
  bool _isBusy = false;
  CustomPaint? _customPaint;
  String? _text;
  var _cameraLensDirection = CameraLensDirection.back;
  int _option = 0;
  final _options = {
    'default': '',
    'object_custom': 'object_labeler.tflite',
  };

  @override
  void initState() {
    super.initState();
    _initializeDetector();
  }
Detector Initialization
void _initializeDetector() async {
    _objectDetector?.close();
    _objectDetector = null;

    if (_option == 0) {
      final options = ObjectDetectorOptions(
        mode: _mode,
        classifyObjects: true,
        multipleObjects: true,
      );
      _objectDetector = GoogleMlKit.vision.objectDetector(options);
    } else if (_option > 0 && _option <= _options.length) {
      final option = _options[_options.keys.toList()[_option]] ?? '';
      final modelPath = await getAssetPath('assets/ml/$option');
      final options = LocalObjectDetectorOptions(
        mode: _mode,
        modelPath: modelPath,
        classifyObjects: true,
        multipleObjects: true,
      );
      _objectDetector = GoogleMlKit.vision.objectDetector(options);
    }

    _canProcess = true;
}
Image Processing
The _processImage method employs the image recognition technique to analyze the captured image and detect objects using the initialized detector. Once objects are detected, the UI is updated accordingly using the _updateUI method.
Future<void> _processImage(InputImage inputImage) async {
    if (_objectDetector == null) return;
    if (!_canProcess) return;
    if (_isBusy) return;
    _isBusy = true;
    setState(() {
      _text = '';
    });
    final objects = await _objectDetector!.processImage(inputImage);
    _updateUI(objects);
    _isBusy = false;
    if (mounted) {
      setState(() {});
    }
}
UI Update
The _updateUI method updates the UI with the detected objects. If objects are detected, it displays the number of objects detected along with a visual representation of the objects using the CustomPaint widget. Otherwise, it displays a message indicating that no objects were detected.
void _updateUI(List<DetectedObject> objects) {
    if (objects.isNotEmpty) {
      setState(() {
        _text = 'Objects Detected: ${objects.length}';
        _customPaint = CustomPaint(
          painter: ObjectDetectPainter(objects),
        );
      });
    } else {
      setState(() {
        _text = 'No Objects Detected';
        _customPaint = null;
      });
    }
}
Full source code
class ARGameView extends StatefulWidget {
ARGameView({
Key? key,
required this.title,
required this.onDetectedObject,
}) : super(key: key);
final String title;
final Function(DetectedObject) onDetectedObject;
@override
State<ARGameView> createState() => _ARGameViewState();
}
class _ARGameViewState extends State<ARGameView> {
ObjectDetector? _objectDetector;
DetectionMode _mode = DetectionMode.stream;
bool _canProcess = false;
bool _isBusy = false;
CustomPaint? _customPaint;
String? _text;
var _cameraLensDirection = CameraLensDirection.back;
int _option = 0;
final _options = {
‘default’: ”,
‘object_custom’: ‘object_labeler.tflite’,
};
@override
void initState() {
super.initState();
_initializeDetector();
}
@override
Widget build(BuildContext context) {
return Scaffold(
appBar: AppBar(
title: Text(widget.title),
),
body: Stack(
children: [
DetectorView(
title: ‘AR Game Detector’,
customPaint: _customPaint,
text: _text,
onImage: _processImage,
initialCameraLensDirection: _cameraLensDirection,
onCameraLensDirectionChanged: (value) =>
_cameraLensDirection = value,
onCameraFeedReady: _initializeDetector,
initialDetectionMode: DetectorViewMode.values[_mode.index],
onDetectorViewModeChanged: _onScreenModeChanged,
),
Positioned(
top: 30,
left: 100,
right: 100,
child: Row(
children: [
Spacer(),
Container(
decoration: BoxDecoration(
color: Colors.black54,
borderRadius: BorderRadius.circular(10.0),
),
child: Padding(
padding: const EdgeInsets.all(4.0),
child: _buildDropdown(),
),
),
Spacer(),
],
),
),
],
),
);
}
Widget _buildDropdown() => DropdownButton<int>(
value: _option,
icon: const Icon(Icons.arrow_downward),
elevation: 16,
style: const TextStyle(color: Colors.blue),
underline: Container(
height: 2,
color: Colors.blue,
),
onChanged: (int? option) {
if (option != null) {
setState(() {
_option = option;
_initializeDetector();
});
}
},
items: List<int>.generate(_options.length, (i) => i)
.map<DropdownMenuItem<int>>((option) {
return DropdownMenuItem<int>(
value: option,
child: Text(_options.keys.toList()[option]),
);
}).toList(),
);
void _onScreenModeChanged(DetectorViewMode mode) {
switch (mode) {
case DetectorViewMode.gallery:
_mode = DetectionMode.single;
_initializeDetector();
return;
case DetectorViewMode.liveFeed:
_mode = DetectionMode.stream;
_initializeDetector();
return;
}
}
void _initializeDetector() async {
_objectDetector?.close();
_objectDetector = null;
if (_option == 0) {
final options = ObjectDetectorOptions(
mode: _mode,
classifyObjects: true,
multipleObjects: true,
);
_objectDetector = GoogleMlKit.vision.objectDetector(options);
} else if (_option > 0 && _option <= _options.length) {
final option = _options[_options.keys.toList()[_option]] ?? ”;
final modelPath = await getAssetPath(‘assets/ml/$option’);
final options = LocalObjectDetectorOptions(
mode: _mode,
modelPath: modelPath,
classifyObjects: true,
multipleObjects: true,
);
_objectDetector = GoogleMlKit.vision.objectDetector(options);
}
_canProcess = true;
}
Future<void> _processImage(InputImage inputImage) async {
if (_objectDetector == null) return;
if (!_canProcess) return;
if (_isBusy) return;
_isBusy = true;
setState(() {
_text = ”;
});
final objects = await _objectDetector!.processImage(inputImage);
_updateUI(objects);
_isBusy = false;
if (mounted) {
setState(() {});
}
}
void _updateUI(List<DetectedObject> objects) {
if (objects.isNotEmpty) {
// Update UI with detected objects
setState(() {
_text = ‘Objects Detected: ${objects.length}’;
_customPaint = CustomPaint(
painter: ObjectDetectPainter(objects),
);
});
} else {
setState(() {
_text = ‘No Objects Detected’;
_customPaint = null;
});
}
}
}
Use cases in Gaming
Integrating object detection in Mobile App Development for game development opens up a plethora of use cases and gameplay possibilities, leveraging Machine learning and Google ML Kit:
- 1. Augmented Reality Games: Players can immerse themselves in virtual adventures overlaid onto their surroundings, engaging in treasure hunts, creature hunts, or virtual battles, thus fostering collaboration and competition within the flutter community.
- 2. Object Recognition Challenges: Games can challenge players to identify and interact with real-world objects to unlock rewards, solve puzzles, or progress through levels, enhancing engagement and interactivity. This integration can be facilitated through a dedicated GitHub repository for easy access and collaboration among developers.
- 3. Immersive Storytelling: Object detection can enrich storytelling in games by triggering events or narrative elements based on real-world objects detected by the camera, offering personalized and interactive experiences for players, thus pushing the boundaries of mobile gaming experiences.
- 4. Multiplayer AR Experiences: Friends can collaborate or compete in multiplayer AR games, working together or against each other to achieve objectives or complete challenges within shared virtual environments, fostering social interaction and engagement in the gaming community.
Conclusion
As the Tech Co-Founder at Yugensys, I’m driven by a deep belief that technology is most powerful when it creates real, measurable impact.
At Yugensys, I lead our efforts in engineering intelligence into every layer of software development — from concept to code, and from data to decision.
With a focus on AI-driven innovation, product engineering, and digital transformation, my work revolves around helping global enterprises and startups accelerate growth through technology that truly performs.
Over the years, I’ve had the privilege of building and scaling teams that don’t just develop products — they craft solutions with purpose, precision, and performance.Our mission is simple yet bold: to turn ideas into intelligent systems that shape the future.
If you’re looking to extend your engineering capabilities or explore how AI and modern software architecture can amplify your business outcomes, let’s connect.At Yugensys, we build technology that doesn’t just adapt to change — it drives it.
Subscrible For Weekly Industry Updates and Yugensys Expert written Blogs


